
When your AC gives up the ghost on a scorching summer day, it’s easy to jump to the worst conclusion: a massive repair bill. But hold on. Before you pick up the phone to call a pro, a few simple checks can often get your cool air flowing again. Things like a wonky thermostat setting, a tripped breaker, or a dirty air filter are surprisingly common culprits.
You can often solve the problem yourself without any special tools or technical know-how.
Your First Checks When The AC Fails
The sudden silence of an air conditioner on a hot afternoon is never a good sign. But before you panic, remember that many AC failures are caused by simple, easily overlooked issues. Walking through these initial troubleshooting steps is your first line of defense, designed to quickly rule out the most common troublemakers.
By methodically checking a few key areas, you might just get your cool air back in minutes and save yourself the stress (and cost) of an unnecessary service call.
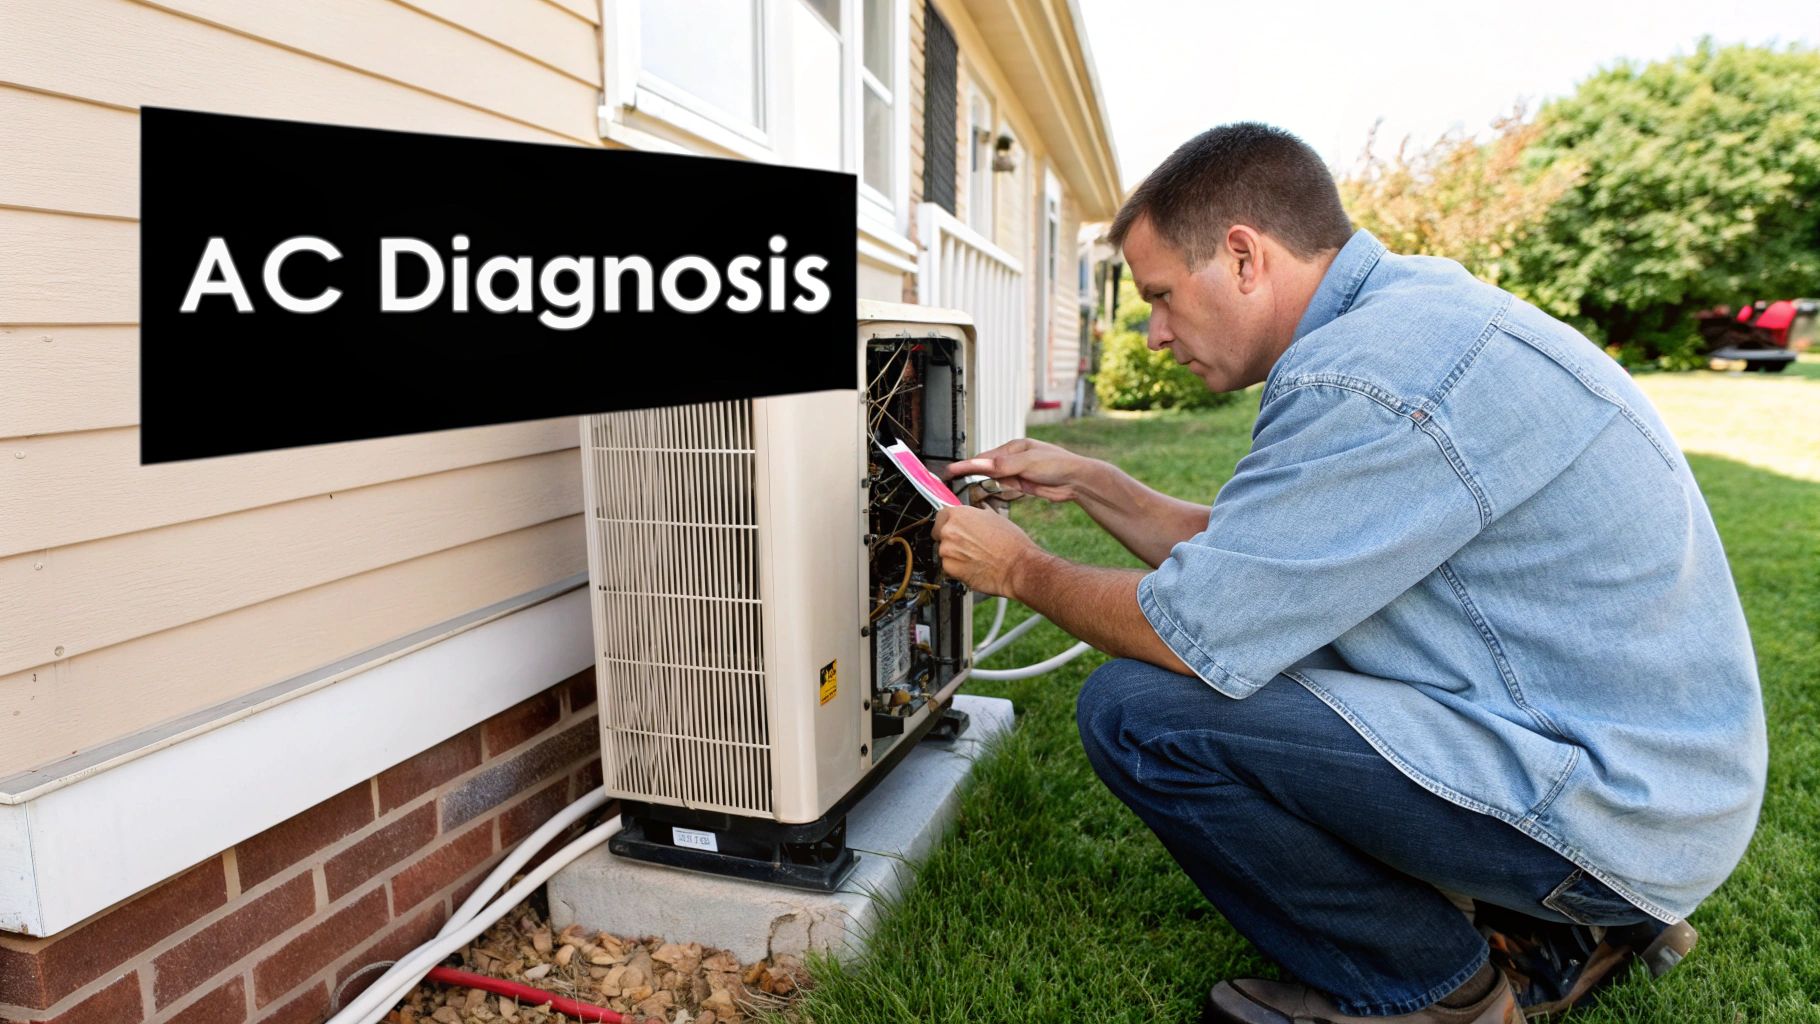
Before diving into the nitty-gritty, it helps to have a quick roadmap. This checklist covers the absolute basics you should look at first. It’s designed to be simple, fast, and require minimal (if any) tools.
Initial AC Troubleshooting Checklist
| Check Point | What to Look For | Simple Fix | Tools Needed |
|---|---|---|---|
| Thermostat | Blank screen, wrong mode, incorrect temperature setting. | Change batteries, switch to "Cool," set temp 5-10°F below room temp. | None (maybe a small screwdriver for battery cover). |
| Circuit Breaker | A breaker in the "Off" or middle position labeled "AC" or "HVAC." | Firmly switch to "Off," then back to "On." | None. |
| Outdoor Shutoff | A switch in a box near the outdoor unit that is in the "Off" position. | Flip the switch to "On." | None. |
| Air Filter | A filter that looks gray, dusty, or clogged with debris. | Replace with a new, clean filter. | None. |
Working through this list will solve a huge number of common AC issues. If you've checked all these points and the AC still isn't running, then it's time to dig a little deeper.
Start at the Thermostat
Think of the thermostat as the brain of your cooling system. A wrong setting here is a frequent and frustratingly simple source of trouble. It’s an easy mistake to make, especially if you have a programmable or smart thermostat with complex schedules.
First, make sure it’s actually set to "Cool" mode. It’s not uncommon for someone in the house to have accidentally switched it to "Heat" or just "Fan Only." Next, look at the temperature setting. It needs to be at least 5-10 degrees lower than the current room temperature to actually kick the system on.
If the screen is completely blank, your problem could be as simple as dead batteries. Most digital thermostats run on standard AA or AAA batteries, so popping in a fresh set is a quick and easy first fix.
Check the Power Supply
No power means no cooling. Your AC unit has a couple of different spots where its electricity supply can get cut off. Before you start poking around the unit itself, you have to confirm it's even getting power.
The Circuit Breaker: Head to your home's main electrical panel and find the breaker labeled for your "AC," "Air Conditioner," or "HVAC." If it's flipped to the "Off" position or is stuck halfway, it has tripped. To reset it, push it firmly all the way to "Off," then back to the "On" position.
The Outdoor Shutoff Switch: Your outdoor condenser unit has its own power switch, usually inside a small metal box mounted to the house nearby. This switch can get bumped off by accident during yard work. Just open the box and make sure the switch is in the "On" position.
Pro Tip: If your circuit breaker trips over and over again, stop resetting it. This is a clear warning sign of a more serious electrical problem, like an overload or a short circuit. At that point, it’s time to call a certified technician.
Inspect the Air Filter
A dirty, clogged air filter is probably the single most common reason for poor AC performance and even complete system failure. When that filter gets choked with dust, pet hair, and other gunk, it suffocates the system by restricting airflow over the evaporator coils.
This lack of warm air causes the refrigerant inside the coils to get way too cold, leading to a block of ice that completely stops the unit from cooling your home.
Checking your filter is a critical maintenance task. You should be inspecting it monthly and replacing it every 1-3 months, depending on your home. If you have pets or live somewhere dusty, you'll need to change it more often. A clean filter is one of the simplest ways to learn how to fix ac unit problems before they get serious.
Keeping up with this small task can have a big financial impact. In the United States, homeowners spend over $10 billion a year on HVAC repairs, with the average visit costing around $351. You can discover more insights about HVAC repair costs and market trends to see why a little preventative maintenance goes such a long way.
Alright, once you've confirmed the thermostat is set correctly and the power is actually on, it's time to roll up your sleeves and investigate a few common issues you can probably handle yourself.
Many AC problems that seem like a big deal are often surprisingly simple to fix with a bit of patience. Tackling these fixes yourself not only saves you a service call fee but also builds some serious homeowner confidence.
Safety First, Always
Before you even think about touching your AC unit, safety has to be your top priority. It's non-negotiable. This is the simple, crucial process you need to follow every single time.
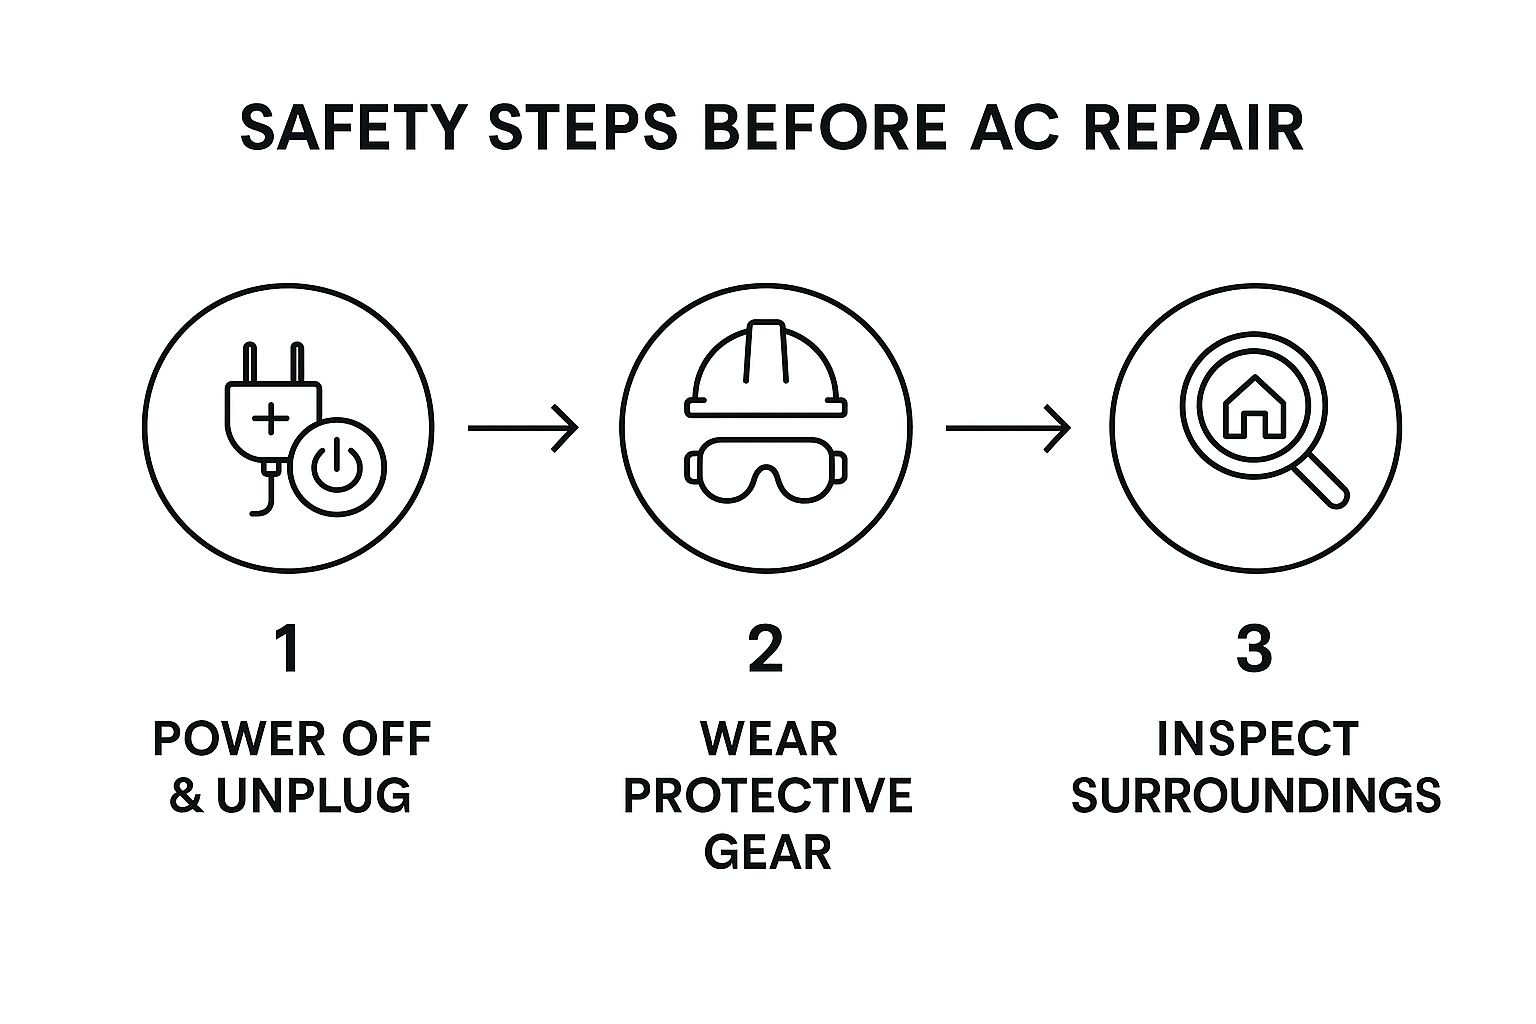
This boils down to a three-step safety dance: kill the power, wear the right gear, and clear your workspace. Following this sequence is the best way to prevent the most common DIY repair accidents and keep yourself safe.
The AC Runs But Blows Warm Air
This is one of the most frustrating things that can happen—the system is running nonstop, but the air coming from your vents is lukewarm at best. More often than not, this problem points directly to your outdoor condenser unit, that big metal box with the fan on top.
That unit's whole job is to dump the heat it pulled from inside your house out into the world. It does this through a grid of delicate metal fins on the condenser coils. Over the years, these fins get absolutely caked with dirt, grass clippings, cottonwood fluff—you name it.
When those coils are dirty, they can't release heat. It’s like trying to cool off while wearing a parka. The system is working its heart out, but the heat is trapped, forcing your AC to run longer and harder. This drives up your energy bills and leaves you sweating. A good cleaning is usually all it takes to fix it.
How to Clean Your Condenser Coils Safely
- Kill the Power: Start by turning off the thermostat inside. Next, head outside to the condenser and shut off the power at the disconnect switch—it's usually a metal box on the wall right next to the unit. To be extra safe, flip the corresponding breaker in your main electrical panel too.
- Clear Debris: Pull out any big stuff like leaves and twigs by hand. While you're at it, trim back any bushes or plants so you have at least two feet of clear space all the way around the unit. It needs room to breathe.
- Gently Spray the Fins: Get your garden hose and a spray nozzle. If you can remove the top fan grate, spray the fins gently from the inside out. If not, spraying from the outside in works too. Just use a gentle stream—those aluminum fins are delicate and bend easily.
- Use a Coil Cleaner (Optional): For really stubborn grime, you can grab a can of commercial coil cleaning foam from any home improvement store. Just follow the directions on the can.
- Let It Dry: Give the unit about an hour to dry completely before you turn the power back on.
What’s That Noise? Decoding Strange AC Sounds
A happy air conditioner makes a consistent, low hum. When new and unusual sounds pop up, they're clues pointing to a specific problem. Figuring out how to fix AC unit noises starts with identifying the sound itself.
A buzzing or humming noise is almost always an electrical issue. It could be a failing capacitor, a stuck contactor relay, or a problem with the compressor motor. If you hear buzzing, shut the unit off immediately. Letting it run could cause much more serious damage.
On the other hand, a rattling or clanking sound usually means something's loose. It might be as simple as loose screws on the unit's panels or debris like a twig that’s gotten caught in the fan blades. With the power off, give the unit a careful inspection for anything that's loose or out of place.
Dealing with a Leaky Indoor Unit
Finding a puddle of water around your indoor air handler is alarming, but the cause is usually a simple plumbing clog you can fix yourself. The water is just condensation that forms on the cold evaporator coils as your AC pulls humidity out of the air.
That moisture is supposed to drain away through a PVC pipe, known as the condensate drain line.
A clogged condensate line is the number one reason for water leaks from an indoor AC unit. Over time, algae, mold, and sludge build up inside this pipe, creating a blockage that causes water to back up and overflow the drain pan.
To fix this, you need to find the drain line. It's usually a white or black PVC pipe running from your indoor unit to the outside of your house or to a floor drain. Once you find the outdoor end of the pipe, a wet/dry shop vacuum is your best friend. Just hold the vacuum's hose to the end of the drain line and let it run for a minute or two to suck out all the gunk. For most homeowners, this instantly solves the leak.
If the clog won't budge or you suspect a more complicated issue, digging into a guide on common air conditioning repair scenarios can give you the deeper insights you need.
More Advanced DIY AC Repair Tasks
Okay, so you've handled the basic checks and your AC is still on the fritz. If you're feeling confident and ready for a slightly bigger challenge, this is where we get into the nitty-gritty. These next few tasks deal with the components that are most often the culprits behind a system breakdown.
With a good dose of caution and a step-by-step approach, you can absolutely tackle these repairs yourself. Doing so could save you a hefty chunk of change on a professional service call. Just remember to always wear protective gloves and safety glasses when you open up any of your AC unit's panels. The metal inside can have surprisingly sharp edges, and it's always better to be safe than sorry.
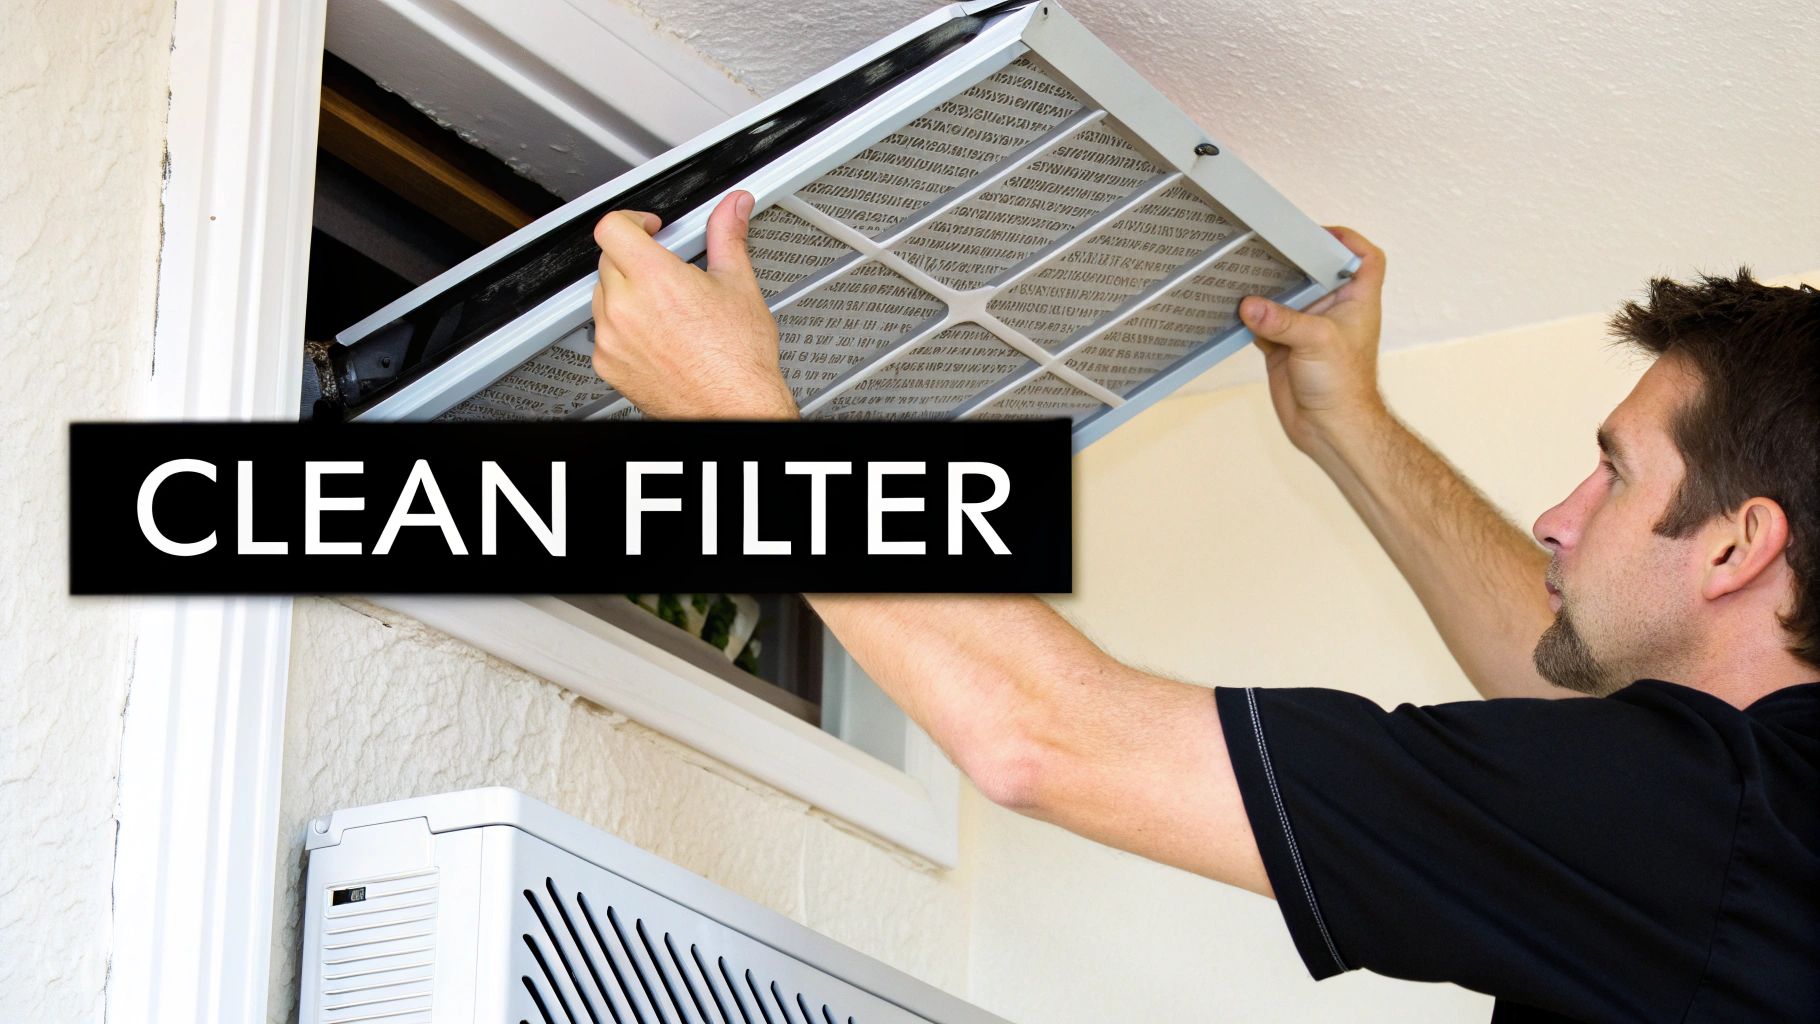
Tackling a Bad AC Capacitor
Let's start with one of the most common reasons an AC unit refuses to start: a failed capacitor. Think of the capacitor as a small, can-shaped battery. Its job is to give the fan motor and compressor the powerful jolt of electricity they need to get going. When it dies, you'll often hear a humming or buzzing sound as the motors try—and fail—to kick on.
A quick visual inspection can often tell you everything you need to know. Pop open the access panel and look for a capacitor that's bulging at the top, leaking an oily fluid, or covered in rust. If you see any of these signs, it's time for a new one.
But before you even think about touching it, you need to follow a critical safety protocol.
Crucial Safety Steps for Capacitor Replacement
- Kill All Power: This is non-negotiable. Head to your thermostat and turn it off. Then, go outside to the disconnect box (usually a grey metal box mounted on the wall near your AC unit) and shut it off. For good measure, find the corresponding breaker in your main electrical panel and flip that off too.
- Find the Capacitor: With the power safely off, remove the access panel on the outdoor unit. You'll see the capacitor inside. Snap a quick photo of the wiring connections before you disconnect a single thing. Trust me, you'll be glad you did.
- Discharge the Capacitor: This is the most important step. Capacitors can hold a dangerous electrical charge long after the power is cut. Grab an insulated-handle screwdriver and carefully bridge the two metal terminals at the top of the capacitor at the same time. You might see a small spark—that's the stored energy safely discharging.
- Swap It Out: Once it's discharged, you can safely disconnect the wires and remove the old capacitor. Take it with you to an HVAC supply store to find an exact match. The voltage (V or VAC) and microfarad (µF or MFD) ratings must be identical.
- Reconnect and Test: Install the new capacitor, using your photo to reconnect the wires exactly as they were. Put the panel back on, restore power at the breaker and disconnect box, and see if your AC roars back to life.
Warning: Never, ever handle a capacitor without discharging it first. A charged capacitor can deliver a severe electrical shock. If you're even the slightest bit unsure about this process, this is the time to put the tools down and call a professional.
Diagnosing a Failing Fan Motor
What if the capacitor looks fine but the fan on your outdoor unit still isn't spinning? The fan motor itself could be the problem. That fan is essential for getting rid of heat from the system. If it's not running, the compressor will quickly overheat and shut itself down, leaving your home to get warmer and warmer.
Start with a simple "spin test." With all the power completely off, use a long stick or screwdriver to gently push the fan blades. Do they spin freely? If so, the motor might have an electrical problem. But if they're stiff, seized, or won't budge at all, the motor's bearings are likely shot, and the whole motor needs to be replaced.
Other tell-tale signs of a dying fan motor include:
- A loud grinding or screeching noise when it's trying to run.
- The fan starts up very slowly or needs a little "push" to get going.
- The motor casing itself is extremely hot to the touch (even after the unit has been off for a while).
Replacing a fan motor is a more involved job and requires getting a precise match for the motor's specifications. For most homeowners, this is a clear sign that it’s time to call in an expert.
Deep Cleaning Your Evaporator Coils
We've talked about cleaning the outdoor condenser coils, but the indoor evaporator coils need love, too. These coils, tucked away inside your indoor air handler, are where the real cooling magic happens. Over time, they can get caked with a sticky film of dust and even mold, which chokes off airflow and tanks your cooling efficiency.
A dirty evaporator coil is a classic reason your AC runs constantly but just can't seem to cool the house down. To clean them, you'll need to get into the air handler cabinet (with the power off, of course!) and use a soft-bristled brush and a can of no-rinse foaming evaporator coil cleaner, which you can find at most home improvement stores.
This kind of deep cleaning is a huge part of knowing how to fix AC unit performance issues. The demand for these services is massive; the global HVAC maintenance services market was estimated at USD 78.54 billion in 2023. The repair segment, which covers tasks just like these, made up 41.5% of that market. This shows just how often these components need attention from both pros and homeowners. You can read the full research on HVAC market trends to see just how vital regular upkeep really is.
Preventing Breakdowns With Routine AC Care
Knowing how to troubleshoot your AC is a great skill, but what’s even better? Never having to use it. Shifting your mindset from reactive repairs to proactive care is the secret to a reliable cooling system that won’t quit on you in the middle of a heatwave.
A simple maintenance plan doesn’t need to eat up your weekends. It's all about building small, consistent habits that pay off big time in system longevity, performance, and lower energy bills. A little effort throughout the year saves a ton of stress and money when it matters most.
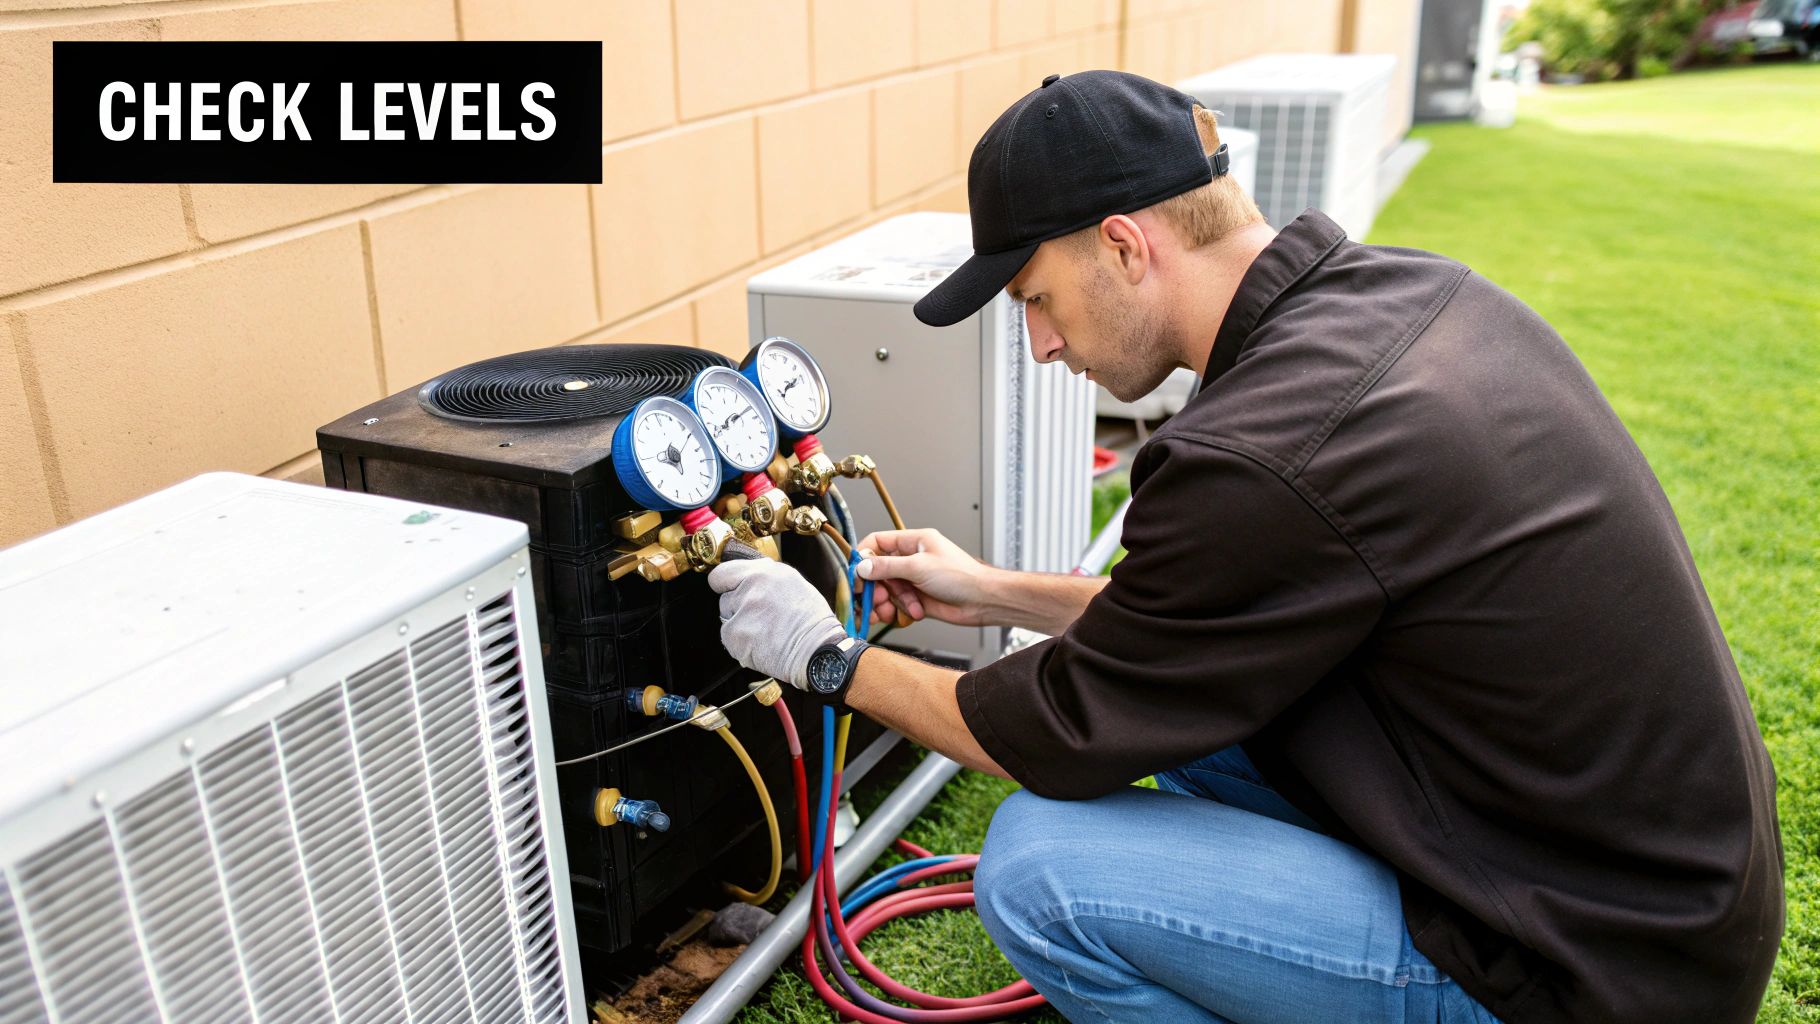
Small Monthly Habits
When it comes to AC care, consistency is your best friend. You don’t need to set aside a whole day for this stuff; just a few minutes each month can make a huge difference. The most important monthly habit? Taking a quick look at your air filter.
Just hold it up to a light. If you can’t see the light shining through, it’s time for a new one. A clogged filter is the number one cause of restricted airflow, which makes your system work overtime, drives up energy costs, and can even lead to a frozen evaporator coil.
While you're at it, do a quick visual sweep of your vents and registers. Make sure they're open and not blocked by furniture, rugs, or curtains. Good airflow is everything for efficient cooling, and blocked vents create hot spots and put unnecessary strain on your whole system.
Essential Seasonal Tasks
As the seasons change, your AC's needs change too. The best time to tackle these tasks is in the spring before you start blasting the AC daily, and again in the fall as you get ready to shut it down for the colder months.
Clean the Outdoor Unit: Your condenser's main job is to push heat outside, and it can't do that if it's buried in gunk. After shutting off the power at the breaker, clear away any leaves, grass clippings, or twigs that have collected around it. A gentle spray from a garden hose can wash away the stubborn dirt on those delicate metal fins.
Maintain Clear Airspace: This isn't just about looks. Overgrown vegetation can slowly creep in and literally choke your condenser. Make sure to trim back any bushes, shrubs, or weeds to keep at least two feet of clear space on all sides. This gives it plenty of room to "breathe" and expel heat properly.
Inspect the Condensate Line: In the spring, find where the condensate drain line exits your house and check that it's not clogged with dirt or debris. Pouring a cup of distilled vinegar down the line from the indoor unit can help clear out any gunk before it becomes a real problem.
To help you stay on track, we've put together a simple schedule. Think of this as your AC's annual check-up list—a way to catch small issues before they become big headaches.
Seasonal AC Maintenance Schedule
| Task | Frequency | DIY Difficulty | Benefit |
|---|---|---|---|
| Check/Change Air Filter | Monthly | Easy | Improves airflow, efficiency, and indoor air quality. |
| Clear Vents & Registers | Monthly | Easy | Ensures even cooling and reduces system strain. |
| Clean Outdoor Unit | Spring & Fall | Easy | Prevents overheating and improves heat exchange. |
| Clear Space Around Unit | Seasonally | Easy | Maintains proper airflow for maximum efficiency. |
| Inspect Condensate Line | Spring | Medium | Prevents water damage from clogs and backups. |
| Professional Tune-Up | Annually | N/A (Pro Only) | Catches major issues early, ensures safety & peak performance. |
Following this checklist is a fantastic way to keep your system humming along. While DIY tasks are crucial, that last one—the professional tune-up—is non-negotiable for long-term health.
The Value of an Annual Professional Tune-Up
While you can handle a lot of the basic upkeep, some jobs are best left to a certified technician. An annual professional tune-up is a critical investment in your system’s health. During this visit, a pro goes way beyond a simple cleaning.
An expert can spot wearing parts before they fail, check refrigerant levels to make sure they’re correct (something that’s illegal and unsafe for homeowners to do), and test electrical components to head off a catastrophic failure. This single preventative check is the best way to ensure your system runs at peak efficiency.
You really can't overstate the importance of this professional oversight, especially as our reliance on AC grows. The global HVAC industry was valued at around $240.8 billion back in 2021 and is only projected to climb. This just shows how much we depend on these systems, putting more pressure on them as they age.
For a full rundown of what a pro visit should cover, check out our guide on comprehensive HVAC maintenance plans. This small yearly expense is your best insurance policy against a huge, unexpected repair bill.
Knowing When to Call an HVAC Professional
Learning how to tackle your own AC unit problems is a fantastic skill, but the mark of a truly savvy homeowner is knowing when to hang up the tool belt. Some issues are just plain out of a DIYer's league, requiring specialized equipment and a level of expertise you only get from years in the field. Recognizing these red flags is about more than just fixing the problem—it's about keeping you safe and protecting your HVAC system from serious damage.
When you start dealing with complex electrical faults or refrigerant issues, you're crossing a line. Trying to fix these without the right training isn't just risky; it can be downright dangerous and, in some cases, illegal. This is the moment to step back and let a certified technician take the reins.
Serious Warning Signs That Demand a Pro
Some symptoms are your AC's way of screaming for help from an expert. If you spot any of the following, your next move should be a phone call, not another trip to the hardware store.
Hissing Sounds or Oily Residue: A distinct hissing or bubbling noise, especially if you see an oily film on or around the refrigerant lines, is the classic calling card of a refrigerant leak. This isn't something you can just top off yourself. Handling refrigerant is tightly regulated by the EPA and requires a special license for a reason.
Persistent Electrical Issues: If your AC keeps tripping the circuit breaker moments after you reset it, stop what you're doing. This points to a serious electrical problem, like a short in the wiring or a failing compressor motor that’s drawing way too much current. Forcing it to run is a fire hazard and a great way to destroy the compressor for good.
Compressor Won't Start: You’ve already replaced the capacitor and double-checked the power, but the compressor—the heart of your outdoor unit—just hums or won't kick on at all. This often means there’s an internal failure inside the compressor itself. That's a big-ticket item that requires professional diagnostics and replacement.
Loud Grinding or Squealing Noises: Minor rattles can sometimes just be a loose panel, but a loud, metallic grinding or a piercing squeal is a cry for help. These noises often signal failing motor bearings or other severe mechanical failures that can cause catastrophic damage if you let the unit keep running.
Remember, trying to save a few bucks by ignoring major warning signs often leads to a much, much more expensive repair down the road. A single failing component can set off a chain reaction, damaging other parts of your system.
The Risks of DIY Overreach
Pushing your DIY skills too far on an HVAC system can have serious consequences. The electrical systems inside an AC unit carry high voltage that can cause severe shock or electrocution. On top of that, refrigerant is a hazardous chemical that can cause frostbite on contact and harms the environment if it's not handled properly.
Ultimately, a professional technician brings more than just experience. They have calibrated diagnostic tools, access to parts you can't get at the store, and the insurance to cover their work. For homeowners in Murrieta, CA, and the surrounding areas, this is when you lean on proven expertise. When your AC is showing signs of serious trouble, call Family Plumbing Heating & Air Conditioning at (951) 677-5445 for safe, reliable, and expert service.
Got Questions About Fixing Your AC?
After getting your hands dirty with a few DIY fixes, you're bound to have some questions rattling around. When it comes to tackling AC unit problems, I see the same handful of questions pop up again and again. Getting solid answers is the key to making smart calls for your system.
Let's break down some of the most common things homeowners ask, so you can get answers that actually apply to your real-life situation.
How Often Should I Really Change My AC Filter?
That old "every 90 days" rule is a decent guideline, but it’s definitely not one-size-fits-all. The real answer depends entirely on what’s going on inside your house.
You'll want to swap out your filter a lot more often if you've got:
- Pets: Fur and dander are filter-clogging machines. If you have furry family members, that filter could be toast in as little as 30 days. A monthly check is non-negotiable.
- Allergies or Breathing Issues: For anyone sensitive to dust and pollen, a clean filter is your best friend. Changing it every 4-6 weeks will do wonders for your indoor air quality.
- A Dusty Environment: Living near a construction site or in a dry, dusty climate like Murrieta means your filter is working overtime. Plan to replace it every 60 days, at a minimum.
Here's the real pro-tip: just check the filter once a month. Hold it up to a light. If it looks clogged and dirty, it’s time to change it, no matter how long it’s been. This simple habit is the single easiest thing you can do to prevent airflow issues.
Can I Top Off the Refrigerant in My AC Myself?
Let me make this simple: absolutely not. Your air conditioner is a sealed system, which means it doesn't "use up" refrigerant the way a car burns through oil. If your levels are low, you have a leak—and just adding more refrigerant is like putting a band-aid on a broken bone.
Even more important, handling refrigerant is heavily regulated by the EPA. It's not just a safety issue (it can cause severe frostbite), it's also illegal for anyone without a special license and certified equipment to mess with it. If you want to learn more about what goes into different repairs, check out this helpful FAQ about AC repairs.
When Is It Time to Replace My AC Instead of Repairing It?
This is the big one every homeowner eventually faces. The repair vs. replace decision really boils down to three things: age, cost, and efficiency.
A great guideline is the 5,000 rule. Just multiply your AC unit's age by the cost of the repair. If that number is over $5,000, it’s probably time to start shopping for a new unit. For instance, putting a $600 repair into a 12-year-old unit gives you a total of 7,200 (600 x 12). That number strongly suggests you’re better off investing in a new system than throwing good money after bad.
You should also look at its efficiency. If your old unit has a low SEER (Seasonal Energy Efficiency Ratio) rating and your power bills keep climbing, a new high-efficiency model could save you a ton in the long run, helping to offset the upfront cost.
When you hit that tough repair-or-replace crossroads, or you’re facing a problem that’s best left to an expert, don’t hesitate to call for backup. For honest diagnostics and professional service here in the Murrieta area, get in touch with Family Plumbing Heating & Air Conditioning to set up an appointment. We're located at 29990 Technology Dr #19, Murrieta, CA 92563.
